Chocolate And Fondue
Build a no-bake chocolate dipping station for summer dessert night
A compact chocolate dipping station can keep summer dessert service playful while staying clean and organized, even when fruit, cake pops, and guests arrive in the same hour.
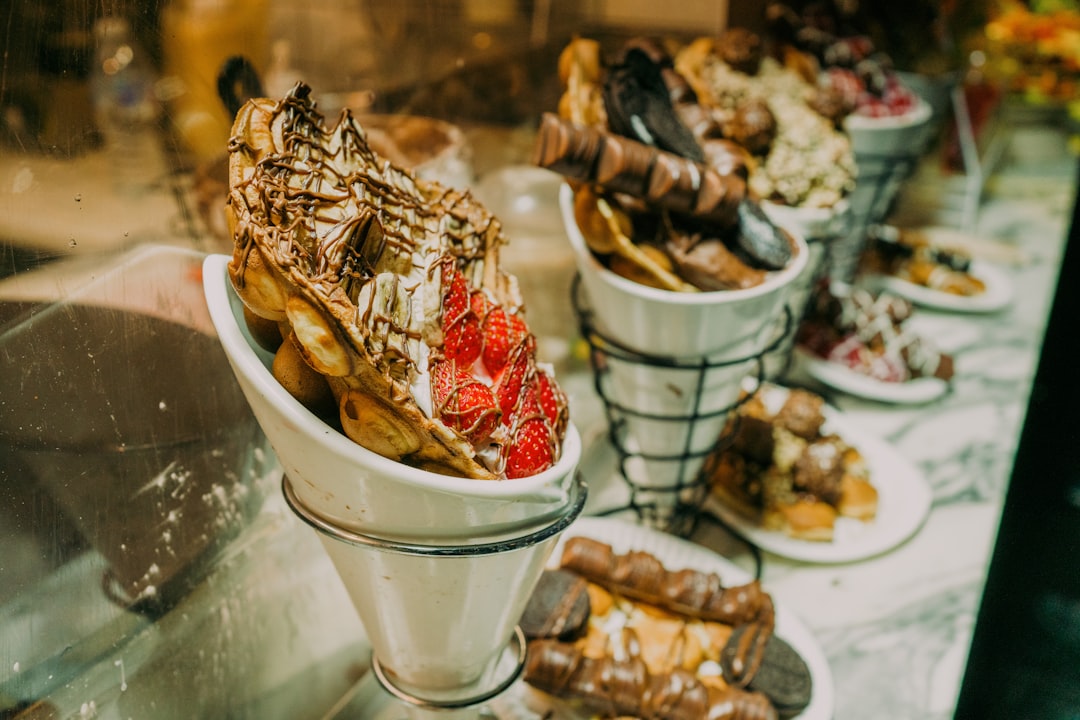
You are setting up a dessert counter on a warm July evening and everyone expects a sweet bite within minutes. The fruit is washed. Cake pop sticks are stacked. The blender is already used for a quick frosting, and you have no room for extra heat, smoke, or a ten minute dish reset before your guests arrive. A no-bake chocolate dipping station is a great way to keep the night moving when you want the same energy as a small party, but without turning your counter into a sticky science project.
Start with your serving goal before choosing any product. If your guests will all dip once and move on, a smaller setup is best. If people keep coming back for seconds and thirds, or if you want toppings in two different flavors, you need more headroom in the pot and more workflow space on the edge of the counter.
Pick the right pot size before buying anything
Many readers skip this step and buy based on color and reviews. For a station, size is the only thing that really decides your mood for the whole evening. You can think of pot size as the difference between a smooth rhythm and constant pauses.
If you serve a very small group of two or three people, the mini candy melter is easiest. It is easy to control, and the station can shut down quickly when everyone is full.
If your group includes families or a rotating crowd, a mid-size 2.5 cup pot gives you more flexibility. The capacity supports small party sessions and multiple dips without a frantic refill cycle. Keep your station simple by limiting toppings to three key options and placing skewers in one bowl.
If you expect two coating rounds, toppings changes, or a bigger crowd, a larger two insert style is often the better choice. It needs more counter space, so measure your setup before checkout so the station stays stable and service stays calm.
Design your station like a service line, not merely a gadget spot
Think in lanes. One lane for dip-ready fruit and sweets, one for dry toppings and skewer storage, and one for serving exit. You only need three tool zones and one cleanup bin, but each zone must stay fixed. A station gets messy when people wander for forks or napkins.
Set the wet side first: melter, parchment tray, and rinse cup. Keep toppings second: nuts, sprinkles, and candy pieces in shallow bowls. Keep wrappers separate in a small bin so they do not brush against the dip lane.
Pre-dry a folded towel and two spare napkin stacks before serving. That single step keeps your edges safe and helps prevent chocolate smearing after half the room gathers around the counter.
Use a simple flow to avoid mess at serving time
A smooth flow has three steps. First, dip. Second, tap to release extra chocolate. Third, send to bowls and bowls again. If this order is fixed, one person can monitor pot temperature while another handles toppings and skewer returns.
For fruits, wash and dry everything first. Use one tray at a time so cut fruit does not sit warm all night. If the room is hot, keep cream-based toppings cold until the moment you add them. That reduces quality swings and cleanup stress.
Food safety without overcomplication
Chocolates go best with clean lanes and short decisions. Keep perishables in chilled containers until the last possible minute, and return leftovers quickly to cold storage. This protects taste and lowers mess without adding a lot of rules.
Wash produce under running water, then dry it on a rack away from toppings. Separate moist and dry items. This keeps a lot of texture problems from showing up halfway through service.
After service, wipe handles and the rim first. Then drain wet tools before storing. You do not need a full deep clean session at once. You need a short reset that prevents the sticky buildup from becoming overnight residue.
Who should skip which setup
If your kitchen is always crowded, avoid the largest station unless you can move one tray to a nearby side surface. If your setup is mostly weekday dessert nibbles, the mini option usually saves both counter stress and cleanup time.
If you run repeated rounds all night, the 2.5 cup middle option helps most often. If guests truly need two dipping flavors and multiple refills, the dual insert setup supports that pace with less interruption.
Choose tools for your dipping station
- Mini chocolate melting pot on Amazon
- 2.5-cup candy melts melting pot on Amazon
- Dual insert 4-cup melting pot on Amazon
Mini chocolate melting pot
This compact unit is easiest for intimate nights and quick cleanups. It suits cake pop, mini pretzel, and small fruit sets where speed matters more than total output.
2.5-cup candy melts melting pot
This gives you the center ground between compact and high volume. It handles more people with fewer refill interruptions and still stays manageable on a narrow counter.
Dual insert 4-cup melting pot
Dual inserts shine when you need two flavors in one run. You can keep one side for plain chocolate and one for a flavored dip, which reduces stopping and starts during service.
Finish the night clean and ready
Set a ten minute close-down timer before guests leave. Unplug and cool down, wipe all visible handles, drain tools, and move leftovers into sealed containers. Then return all perishable toppings to a cool place quickly. This keeps your counter usable for the next task and your station from becoming a late night chore.
Your best guide is simple: pick the pot that matches your real crowd, not a hypothetical one. If your station has clear roles and short steps, both the setup and cleanup stay pleasant even when the night gets busy.
Before purchase, verify live product details for price, availability, care instructions, and return policy on Amazon. Use one of the links below for live check.