Product Care
The cleanup rhythm that keeps milk, chocolate, and espresso tools ready for the next shift
Keep your reset short and predictable so milk foam, chocolate, and espresso tools feel fresh for your next run instead of stale.

At 8:10 p.m. on a busy Saturday, your counter may look like a victory parade and a cleanup emergency at the same time. A milk frother sits warm and foamy, a hot chocolate pot has a sticky ring where syrup dripped, and the kettle has a faint mineral rim from the last fill. That mix is not a character flaw. It is simply what happens when three very different tools get treated as one mess.
If you clean everything the same way, you are forcing milk, cocoa, and hot water equipment to share a single maintenance plan. That plan might look tidy for a minute, and then you wake up to a stale flavor note and a sticky whisk that makes the next drink feel like a restart. The tools are not misbehaving, the sequence is.
Match your reset order to what each tool needs
Start by dividing the tools into three stress buckets. Milk devices carry protein residue and tiny steam traces. Chocolate parts attract sugar syrup, especially around seals and spray points. Kettle and dispensing tools gather mineral film from hot water and occasional spills. If that sounds obvious, it still helps because most of us rush in the wrong order: we often clean water tools first, then move to milk, then finish with cocoa, all while everything is still hot.
Try the opposite. Cool first, clear next, then dry last. Cool-down is the part people skip, but it is the part that saves the longest time overall. If a component is still hot, soap and rinsing can leave a thin film that hardens as it dries. A short cool pause lets gravity and plain water do the first clean pass.
Step one: cool and drain the kettle without wasting foam
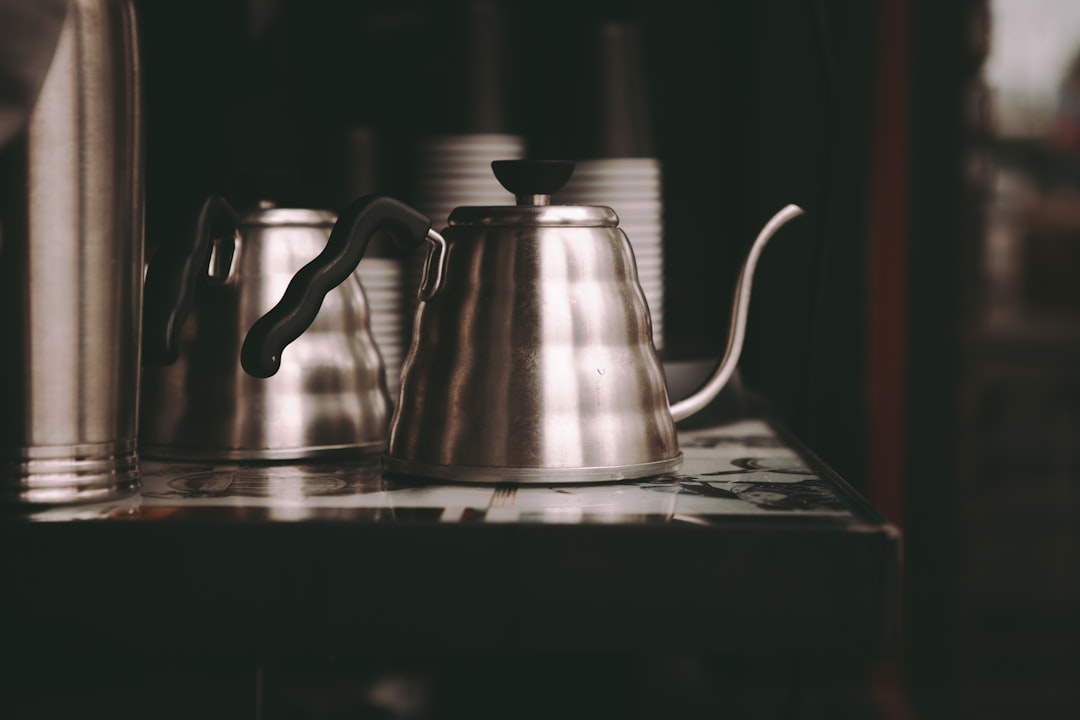
For the kettle, shut it off, unplug it, and let the body cool for two to three minutes before draining. Pour the remaining hot water through a fine filter or a clean cloth-lined strainer if your routine has one, then rinse the inside with room-temperature water and leave it on a dry edge where it is not stacked under humid air. If you are using a temperature-control kettle, like the one with this HiYAKOI model on Amazon, let the control panel cool off while you do the next step. That extra pause prevents overpressure residue and reduces mineral marks between sessions.
Step two: treat milk attachments like separate skin and hair, not one tool
Milk frothers and steam attachments carry two things: fat droplets and milk solids. Mix those with warm water, and you get a skin that sticks exactly where it hurts most, usually around valves and vents. Move quickly through disassembly if your model supports it, then run a warm water rinse through all channels before using soap. Rinse each part in warm water, scrub the valve ring with a soft brush, then rinse again.
For a practical baseline, a short daily rule works well: one warm rinse right after service, then a full rinse before bed, and a deeper wipe if your next run is tomorrow morning. If your model uses removable tips, take them out and clean them separately. For a milk solution that supports both hot and cold foam tasks, a link like this milk frother on Amazon can fit well in small counter routines.
Step three: neutralize cocoa film right after your last pour
Chocolate tools are sneaky because they can taste fine on the first pour and carry sweetness over into coffee later. A tiny sugar ring near the spout or cap is often invisible until the next batch tastes coated. Keep a microfiber cloth, a soft brush, and a small rinse cup to clean quickly, then wipe while still warm with a food-safe cloth. If the tool has a removable lid and rim seals, remove both for a quick fresh-water flush.
"If cleanup fails at the end of the night, your next morning drink pays the price, not your guests."
If your counter has a dedicated cocoa appliance, a unit like this Hotel Chocolat Velvetiser on Amazon is easier to reset when you separate chocolate residue from milk residue right away and do not leave one mixed rinse cup on the counter overnight.
A compact 8-minute reset for one-counter homes
- Cool all hot tools and pour remaining liquids into disposal-safe containers. Do not force hot components to scrub immediately.
- Rinse milk and cocoa tools with room temperature water, then warm water. Pull off removable parts first.
- Rinse kettle interiors and wipe the outside, including the base and temperature control panel.
- Dry seals, lips, nozzles, and cups with a lint-free cloth. Open parts are where residue returns first.
- Air-dry on a clean rack for thirty minutes before putting lids back on.
That list looks long when read in block form, but with timing it runs fast because each item is short and repetitive. Most people finish in nine to thirteen minutes once the parts are arranged in a basket and towel before service starts. If you are the host for a small crowd, the whole trick is to decide where each part goes the moment service ends.
Storage is part of the process, not a separate chore
Storage mistakes cause a lot of late frustration. If you cap every component tightly right away, some tools trap humidity and invite a sour smell. If you leave everything wide open, dust and kitchen steam drift in and make cleanup easier but not cleaner. The middle path is simple: let the most sensitive parts dry before sealing, then close when cool.
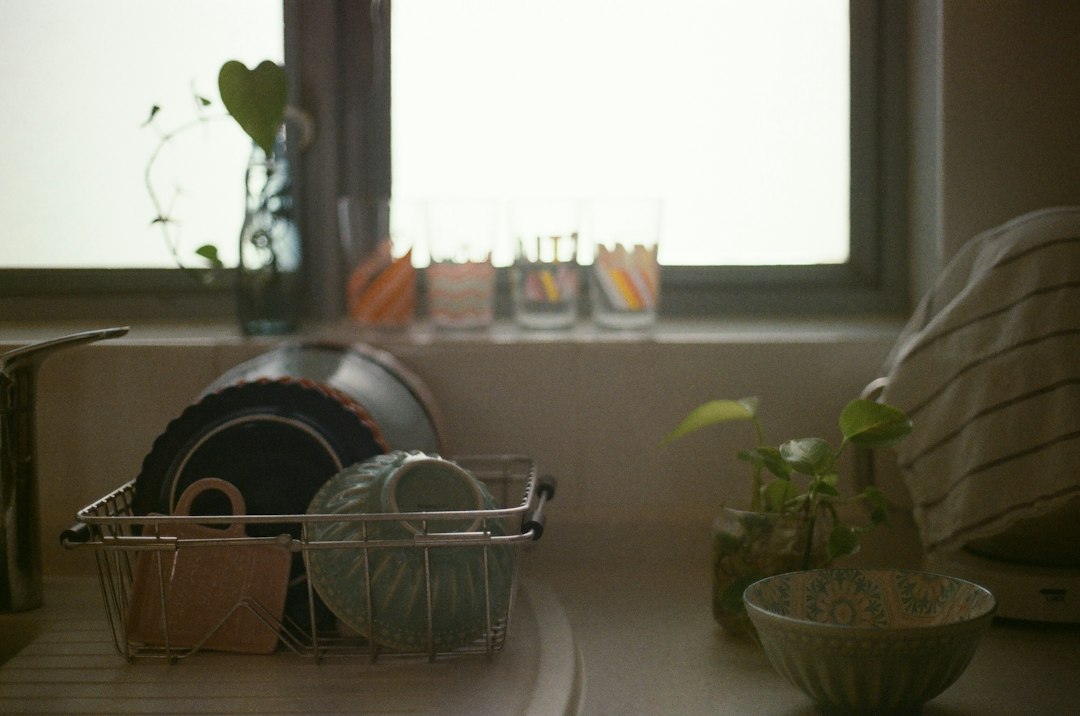
For steam and froth parts, keep a dry cloth ring nearby so parts can rest without touching wet counter surfaces. For cocoa nozzles and chocolate bowls, leave lids off for twenty minutes, then seal lightly. For kettles and warmers, place them upright on a rack to keep feet clean and to allow bottom vents to clear.
What changes after a week of this routine?
By week two, most hosts notice they do not have to rinse at full force at morning coffee time. The clean-down rhythm becomes automatic, like a familiar app lock screen routine. There are fewer stubborn lines in the milk cup, less sticky ring in cocoa parts, and the next batch of drinks tastes closer to the first one you made.
Small counters are usually where this makes the biggest difference. You do not have a lot of spare work zones. A clear sequence gives each tool its lane and your brain the chance to move on.
Simple rules when you are behind
When guests are still in the room and your clock is already loud, use a lighter version: cool tools, quick drain, and a full rinse in your order sequence. Skip deep scrub until the next morning. You can still keep tools usable for storage and avoid the gummy flavor carryover that comes from incomplete rinses. It is a good compromise, and you can always run the full round later.
You do not need expensive cleaning sprays for this routine to work. You need timing, order, and a short list of tools that fit your setup. In taste terms, that usually beats any amount of over-cleaning.
Final note before your next upgrade choice
Use this sequence as a baseline and adjust for your specific models. Product pages change details over time, so treat any current price, rating, or stock number as something to confirm on the retailer page right before you buy. What stays useful is the order: cool, rinse, dry, and store by function. Your drinks and your weekend mornings will thank you for it.