Coffee And Espresso
How to Store Coffee Beans So the Last Cup Tastes Like the First
Coffee beans lose their best flavor to air, light, heat, and moisture, and the fix is mostly about where you keep them. Here is a simple storage routine that keeps the last cup tasting close to the first, with no special equipment.
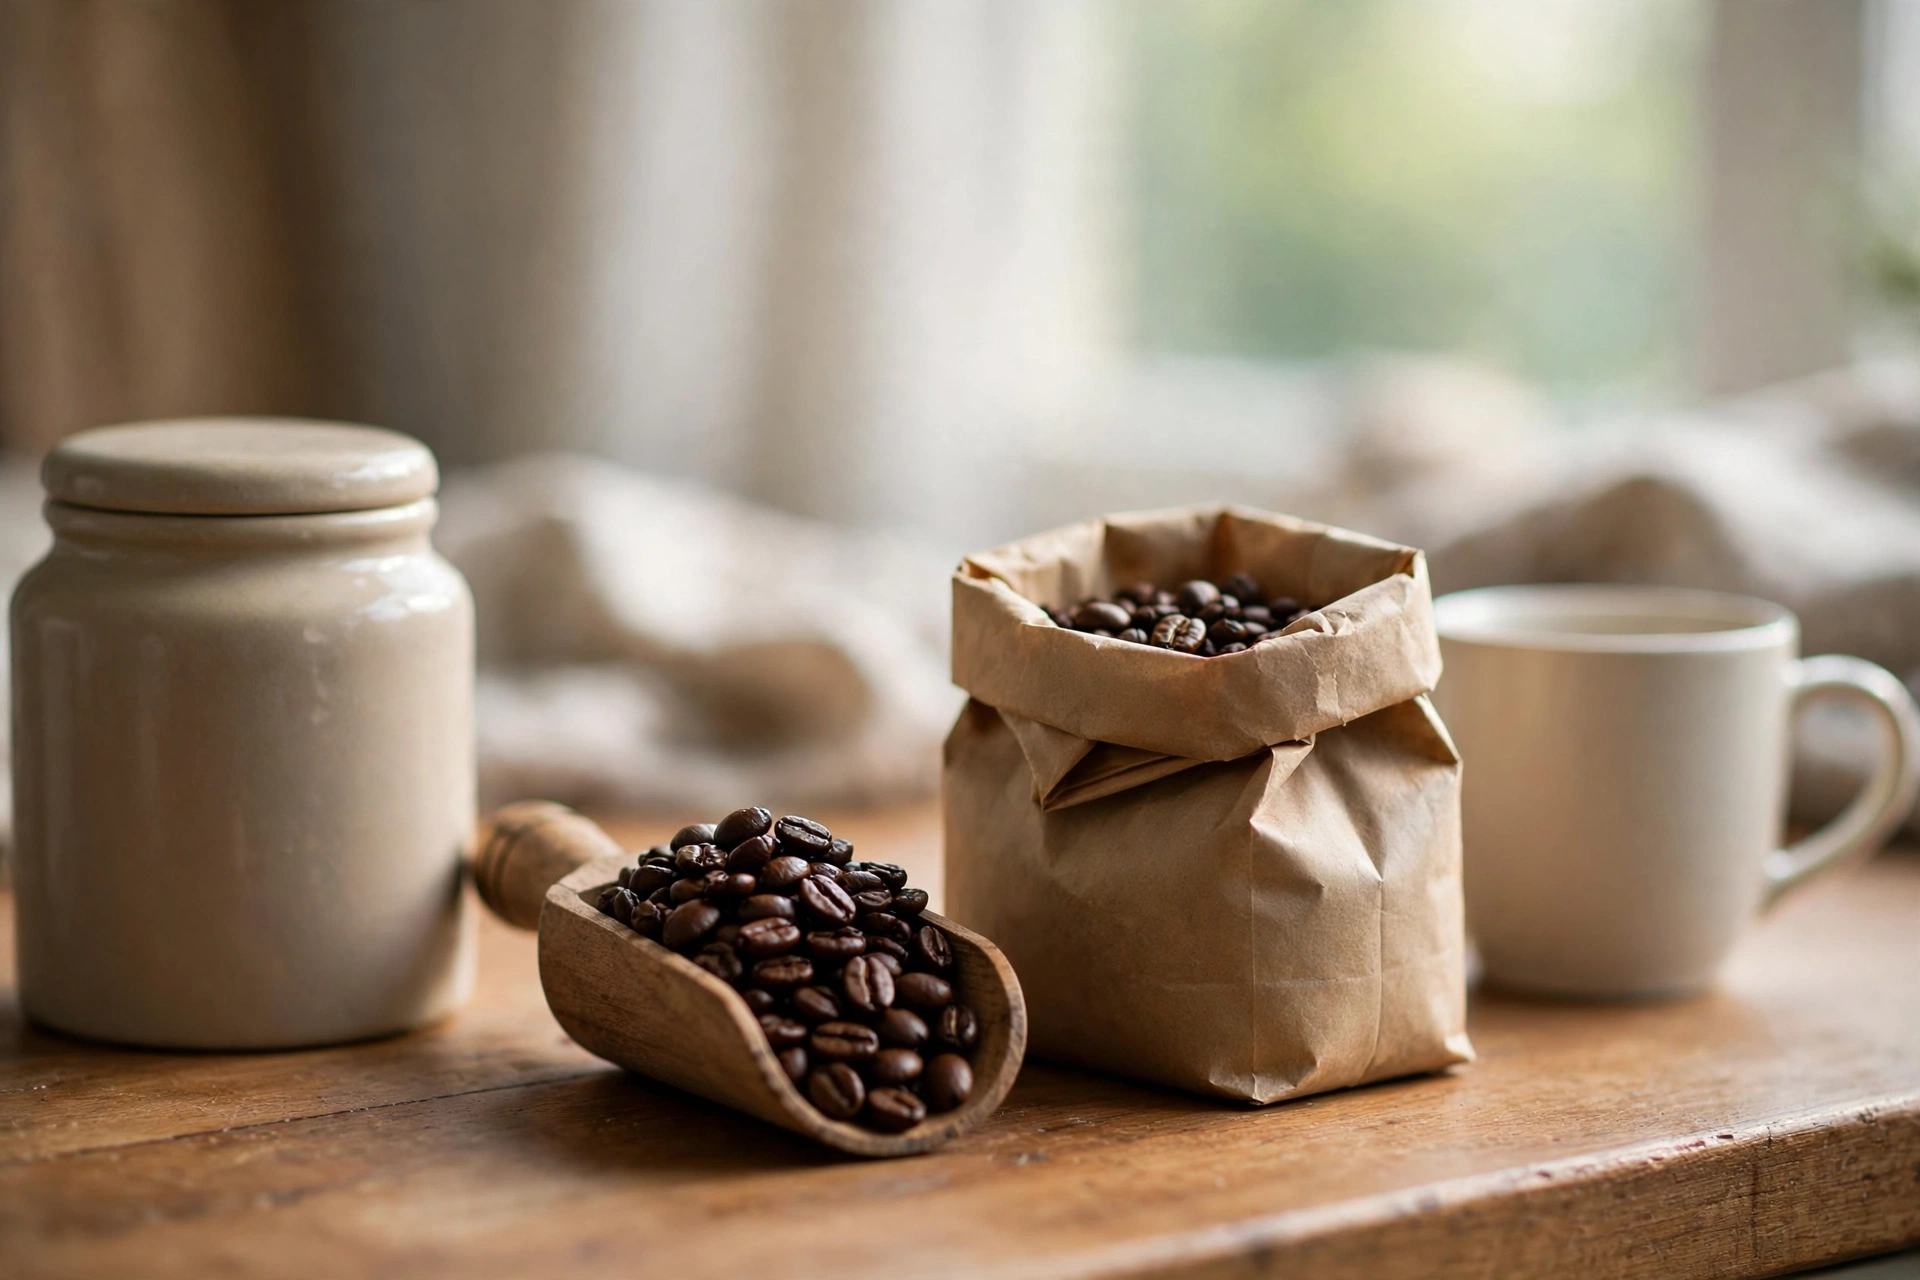
The first cup and the last cup should not taste like different coffees
Open a fresh bag of beans and the first cup is the reason you bought it: rich smell, clear flavor, something worth waking up for. Three weeks later the same bag can taste flat and dull, and nothing about your brewer changed. The beans changed, slowly, every time air, light, heat, or moisture got at them. Good storage does not make average beans great, but it stops good beans from turning average before you finish the bag. The fix is mostly a cupboard decision, not a purchase.
What actually makes beans go stale
Roasted coffee is always changing. After roasting, beans slowly release carbon dioxide and take in oxygen, and oxygen dulls aroma and flavor over time. Light and heat speed the process up, and moisture is worse: damp beans can taste off and clump, and ground coffee picks up moisture fast. Grinding makes it worse still, because it multiplies the surface area exposed to air, which is why ground coffee goes stale much faster than whole beans. That is the whole problem in one paragraph: keep air, light, heat, and moisture away, and keep the beans whole until you brew.
Step 1: Keep the beans whole until you brew
Grind only what you need for the cup or pot in front of you. A grinder is the single best storage tool you can own, because it lets you keep the rest of the bag whole. If you do not own a grinder, that is fine: buy ground coffee in smaller bags and use it up faster, since its window is shorter. Either way, the rule is the same: the less time ground coffee spends sitting around, the better it tastes.
Step 2: Put them in an opaque, airtight container
The bag the beans arrived in is often fine for the first few days, especially if it reseals, but a dedicated container is better for the rest of the bag. Two words matter: opaque and airtight. Opaque, because a clear jar on the counter looks lovely and lets light in all day. Airtight, because a lid that actually seals keeps oxygen out; a decorative canister with a loose lid is decoration, not storage. Ceramic, stainless steel, or tinted glass all work, as long as the lid seals and light stays out.
Put the container in a cool, dark cupboard, away from the stove, the oven, and a sunny windowsill. The top of the fridge is a bad spot: warm air rises there, and the temperature swings every time the fridge cycles. A pantry shelf or a closed cupboard near your brewer is the right home.
Step 3: Buy less, more often
The easiest storage upgrade is buying a smaller bag. A bag that lasts two or three weeks at your pace beats a big bag that lasts two months, because the last cups from the big bag have spent eight weeks meeting the air. Check the roast date when you buy: beans are generally at their best in the first few weeks after roasting, and a bag with a roast date on it tells you where you stand. If you go through coffee slowly, split the bag: keep a week or so in the counter container and keep the rest sealed until you need it.
The freezer question
Yes, the freezer can help for beans you will not reach for weeks, if you do it right. Portion them into small airtight bags or jars, about a week of coffee each, squeeze the air out, and seal them. Only take out one portion at a time, and let it come to room temperature before you open it, so moisture from the air does not condense on the cold beans. Do not freeze, thaw, and refreeze the same beans, and do not open the frozen bag every morning to scoop from it: every opening invites in moist air.
The fridge is a different story, and the answer is no. Fridges are humid, beans pick up moisture and nearby food odors, and the temperature swings every time the door opens. If you finish a bag within a few weeks anyway, the freezer adds nothing: skip it and keep the routine simple.
How to tell your beans have gone stale
The smell test is the honest one. Fresh beans smell rich and distinct when you open the container; stale beans smell faint, flat, or like old cardboard. The cup tells the same story: dull, one-note flavor, and no aroma rising from the mug. Stale beans are not unsafe, they just make a boring cup. If yours have gone stale, use them up in a forgiving brew: a milky drink or a cold brew hides staleness better than a straight black cup. Then start a fresh bag and reset the routine.
What not to do
- Do not store beans in a clear jar on a sunny counter. It is the fastest way to age them.
- Do not leave beans sitting in the grinder hopper for weeks. Hoppers are rarely airtight, and they sit in the light.
- Do not store beans next to spices, onions, or anything strongly scented. Roasted beans absorb odors.
- Do not leave the bag open and loosely rolled on the shelf. If the bag stays open, the container step never happens.
- Do not buy the biggest bag because it costs less per ounce if it takes you two months to finish it. The savings disappear into the last flat cups.
A two-minute storage routine
When a new bag arrives: move what you will use this week into the opaque, airtight container and put it in a dark cupboard. Seal the rest, and if it will last more than a few weeks, portion it for the freezer. Write the roast date on the container if it is not already on the bag. Then grind only what you brew, each time. That is the whole routine, and it is the difference between a bag that tastes the same on day one and day twenty, and a bag that gives up halfway through.
Storage will not fix a bean you did not like in the first place, and it will not replace a good roast. But it protects the coffee you already chose, cup after cup, until the bag is empty. The last cup should taste like the first, and most of the time, that is a cupboard decision.