Milk Frothers
Keep dairy and oat milk consistent at your small drink station
If your morning milk foam looks excellent and your evening oat milk cocoa turns thin, this guide helps you separate dairy and plant-milk goals on one counter. Learn a reliable rhythm for temperature, batching, and reset so your drinks stay consistent from the first pour to the last guest.

At 7:00 p.m. your counter can feel different from what it did at 8:00 a.m. The same frother that gave you clean morning cappuccino foam might now be making dull cocoa milk that collapses by the first sip. That does not mean the machine is broken. It usually means you changed milk type, heat profile, and timing in the same evening without giving each step a fresh setup.
Most readers who run both espresso style drinks and hot chocolate from one counter do this without meaning to. The morning batch runs with dairy milk, a short, fast routine, and a small service window. In the evening, the same tools face oat milk, extra sweetened mixes, and a guest count that drifts. If your result swings from silky to flat, the tools may be right and the sequence wrong.
Dairy and oat milk behave differently in practice, beyond paper
For a small station, this is the first rule to accept: dairy and plant milks do not respond the same way to heat. With dairy, a consistent temperature window and aggressive initial frothing can hold a stable microfoam. Oat milk often carries more sugar and lower protein stability. It can foam quickly, then lose structure if it sits, reheats, or gets overworked.
People notice this as two separate frustrations. The first is texture. Oat foam can rise hard and then drop fast into wet bubbles. The second is taste. If your temperature is too high for an oat blend, the drink can taste cooked or overly sweet from concentration changes. If you carry that texture into evening cocoa, the problem compounds.
Use two texture targets, one station
Your station only needs one physical path, but two internal targets.
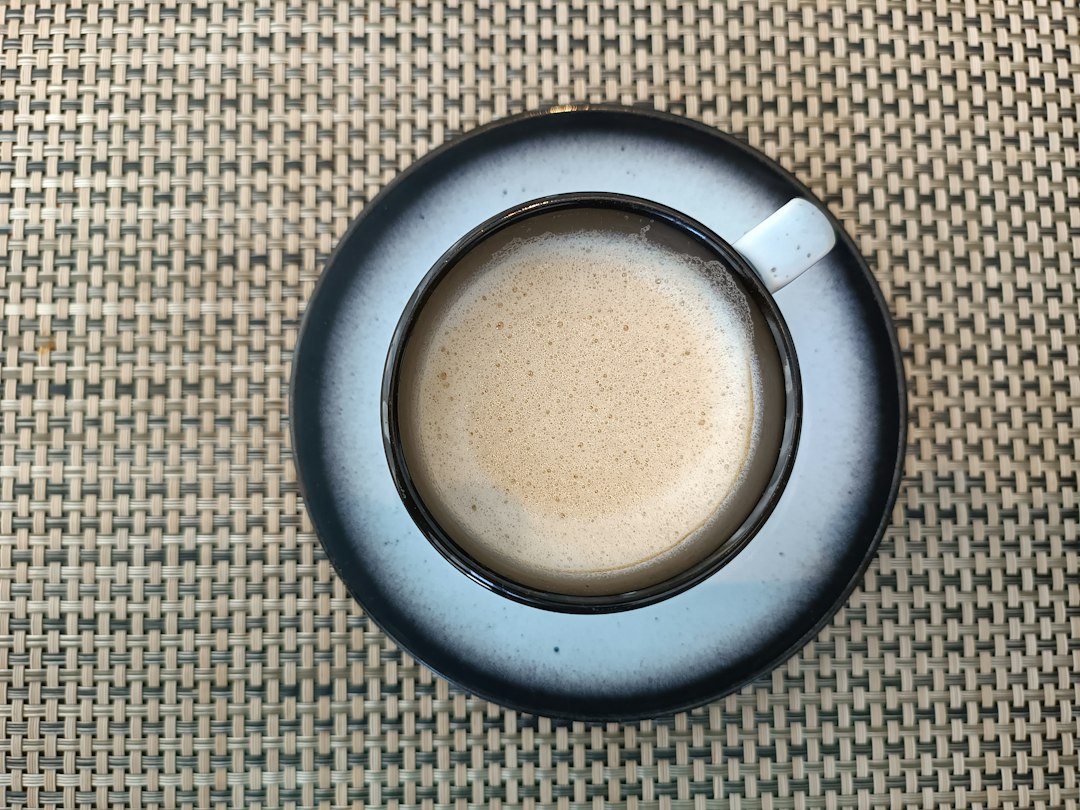
Target 1: a taller, silkier foam for latte and cappuccino moments. This is your morning or brunch mode.
Target 2: a richer, softer foam for hot cocoa and dessert drinks. This is your late-evening mode.
You do not need more machines to hit both targets. You need the same machine to be handled differently.
The 20-minute routine that keeps results repeatable
Small counters stay calm when every step is fixed. Use this routine whenever you switch from dairy to oat milk in one service session:
- Preheat the tool, not the milk. Fill the frother with your exact milk amount first. If your room is cold, warm the cup and keep your tools dry. Wipe spills immediately so the first batch is not fighting surface moisture.
- Set dairy work to a lower heat ceiling. Dairy behaves best when you avoid over-shooting your heat target. You want a smooth rise, not a hard boil feeling. Aim for a controlled rise and stop at the first real foam cue, not the highest possible steam time.
- Run oat milk in shorter cycles. Do not treat oat and dairy the same. Start with a shorter steam burst, then top up. The same frother that overworks oat milk in one long pass often gives you a much better result with two short bursts.
- Pause before serving. Let foam settle for a few seconds. This is where many hosts lose a good texture because they push too quickly into the serving jug. A ten-second pause helps bubbles align for both texture and mouthfeel.
- Label cups by batch. Keep dairy and oat milk in separate prepped mugs or pitchers when possible. This prevents accidental carryover and makes cleanups easier at the end of service.
For a mixed-evening event, this becomes a tiny loop, not a hard reset. The loop saves you from improvising while guests are waiting.
Product options that fit this routine without overfilling your counter
If you are starting from scratch and want a station that can handle both drink moods, this is the style of equipment that supports the routine above:
See the 4-in-1 milk frother and steamer on Amazon. For stations that move between hot cocoa and lattes, a detachable, automatic multi-mode design can reduce the urge to switch tools and introduces a cleaner handoff flow.
See the 1.7L glass tea kettle with temp presets on Amazon. A preset-friendly kettle helps keep water and base temperature stable so your milk additions are not chasing a moving heat target.
See the hot chocolate maker setup on Amazon. If you serve more than two cocoa rounds, this style of unit can make the evening transition easier because it separates cocoa serving work from your milk prep loop.
Use all product links above as natural options, not required upgrades. Confirm live details on each page before your final purchase. Prices, availability, and package counts can shift quickly.
When your foam looks right at first but weakens in cup two
The weak cup problem usually starts with one of three habits:
- Over-steaming the second batch because you think one extra second is harmless.
- Using the same pressure level for dairy and oat milk after a short service window.
- Reusing equipment that has a thin milk film from the first batch because reset did not happen between drinks.
If you see flat foam on the second serve, reverse in this order. Lower run time by ten to twenty percent, reduce pre-heat pressure, and check your pitcher wall for residue before the next pour. This is repeatable because it keeps sequence more than power in control.
How to design your service map before guests arrive
Create a phone note recipe card with three columns:
- Batch type: dairy cappuccino, oat latte, cocoa.
- Froth profile: short burst plus pause, short burst plus pause, soft blend plus short pause.
- Hold plan: what stays on the counter and what leaves the counter after each round.
That map keeps your station from becoming reactive. In practice it means no guest sees the machine in a panic mode. they see a direct flow.
How to decide when you need a reset
When your counter starts to drift, apply this short rule:
Dairy drink first? Use your higher texture profile and a stricter stop point.
Oat milk cocoa at night? Use shorter cycles, more pauses, and a softer final swirl.
More than four servings on one batch? It is usually better to reset than to stretch one run. A short reset is easier than replacing a whole evening of drinks.
If the station gets crowded, simplify. One host, one machine, one sequence for the next round. You can scale by repeating the sequence, not by adding chaos.
Storage and safety habits for mixed drink routines
Both milk and cocoa drinks keep their best quality when you treat leftovers like food you would serve at a real event, not a casual drink. Keep a strict timeline from first pour to final service.
If you leave prepared dairy or oat milk drinks out, move quickly. Use a chilled path for leftovers and keep one serving batch open for less time than you think. Clear labeling helps you avoid re-serving from the wrong container.
Final flow before your next session
A one-counter station should feel smaller than the night, not bigger. With dairy and oat milk both in your menu, the move is not to collect more tools. It is to collect a better routine. The same frother can still feel like two different machines if you set direct target profiles, reset after each milk type, and use separate pour timing for cocoa and cappuccino drinks.
Once your routine is stable, your station starts to work like choreography. You will know what to do, what to skip, and where each tool belongs in the flow. That is the biggest upgrade. The gear is easier to choose after the flow is clear, because the gear now has to fit habits, not the other way around.
If you are building this for your own routine, start with one change this week only: your first batch profile for oat milk. Build that before touching steam time or pressure. You will feel the difference in every cup after that.